
Working out at home doesn’t need to mean skipping strength, skipping variety, or skipping results. In fact, one of my favourite at-home tools is the humble resistance band it’s compact, versatile and truly effective when used right. I’ve personally spent months testing and tweaking bands-based routines in my living room, and I’ve learned what works, what trips people up, and how to build a plan you’ll actually stick to.
In this article I’ll share how to use resistance bands at home effectively (with the benefit of the “I tried it” experience), point out the key things to look for when buying a set (so you don’t regret your purchase), and highlight two excellent product recommendations that I’ve used and can vouch for. My goal is to help you feel confident not overwhelmed as you bring gym-quality training into your home space.
Why Resistance Bands Work So Well At Home
Resistance bands have become a go-to for home workouts for several solid reasons:
- Versatility: You can use them for full-body movements, upper body, lower body, glutes, core, inner thighs, shoulders, triceps — you name it. I often swap a dumbbell exercise for a band variation when I’m in a tight space.
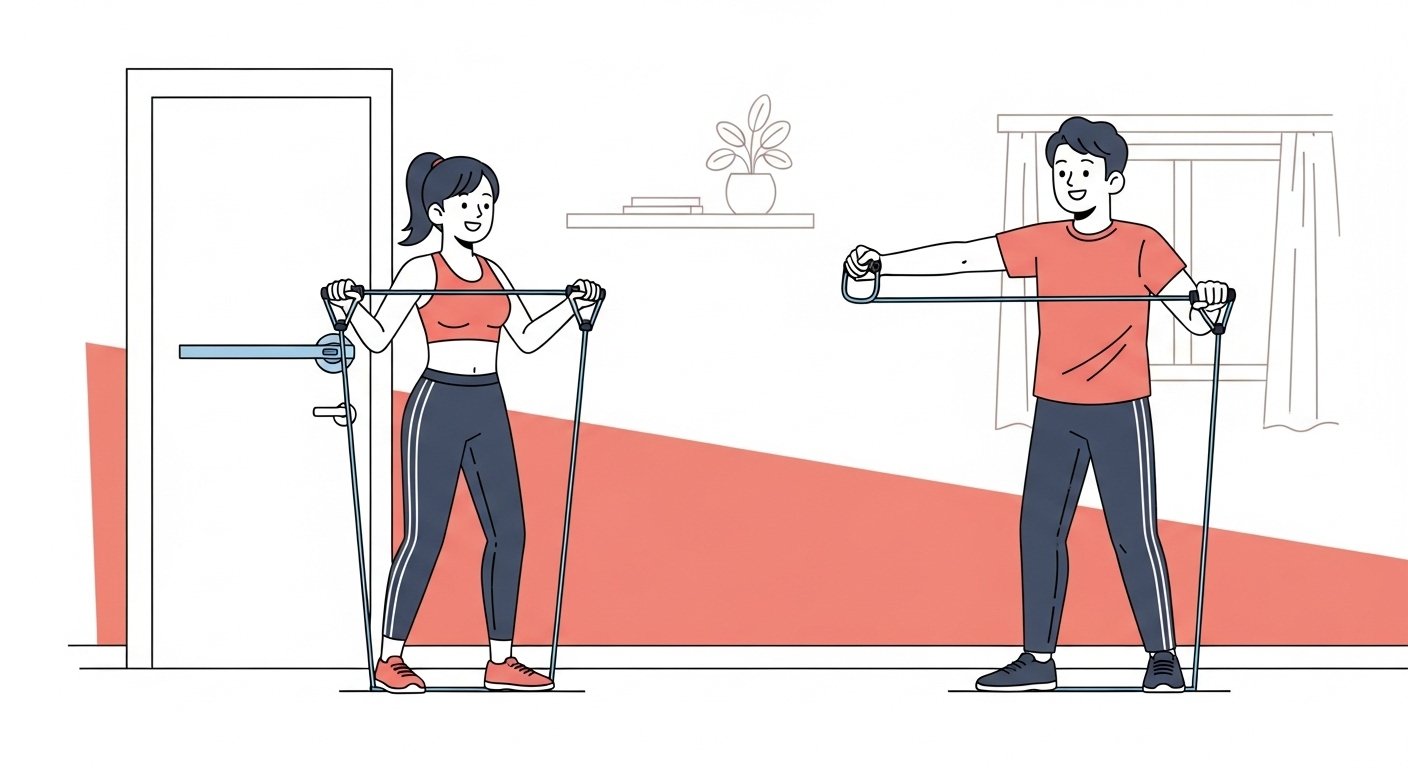
- Space-saver: They take almost no room. In my small flat, I simply hang a door-anchor and keep the bands in a drawer — done.
- Effective resistance: Studies show elastic devices (bands) can provide strength gains comparable to conventional weight machines. Health+1
- Beginner-friendly, yet scalable: You can start light and increase resistance, stack bands, change length, change anchor points. I started with 5–10 minutes and now do 25-minute routines with challenge.
- Anywhere use: Travel, hotel rooms, small apartments — bands travel well. One article even pointed out a popular 5-band set was praised as “one of the most effective tools for getting an awesome workout on the go.” Health
Because of all this, I’ve come to see resistance band workouts not as a “lighter substitute” but as a legitimate core of home strength and conditioning. But, as with anything, results depend on how you use them and that begins with choosing the right set.
What to Look For in a Good Band Set
When I bought my first set, I made a few mistakes (bands that rolled up, weak handles, limited resistance). So I’m sharing what I’ve learned so you can avoid the same pitfalls:
- Resistance levels and variety
You want a range: from light (for warm-ups, mobility, glute activation) to heavier (for full-body moves, legs, progressive strength). If you only buy one band, you might hit a ceiling fast. - Quality of material and design
Latex is common, but cheaper bands might roll up, lose elasticity, or snap. One trusted review noted that better bands address durability and safety issues. Garage Gym Reviews
Also: good handles, secure ankle or door anchor straps, and clear markings help. - Accessories & anchor points
Door anchors, ankle straps, carry bag — these extras increase what you can do. I found door anchor use unlocked so many more exercises for me. - Set up for progression
As you get stronger, you’ll want to increase resistance or change angles. A kit that allows stacking bands or adjusting grip length is ideal. - Money & budget sense
You don’t need to spend a fortune. Some excellent sets cost under $30. One article claimed you can build a full home-gym style workout with a set priced ~$26. Health
On the flip side: the very cheap sets might frustrate you with quality or limited longevity. - Comfort / usability
If using the band is awkward, you’ll skip it. Bands that snap against your skin, slip off your foot, or require weird door anchors cause friction (literally and figuratively).
My Favourite At-Home Band Workout Structure
Here’s a simple but effective structure I’ve used many times. It covers full body, but you can tweak it for upper, lower, core or glutes focus.
Warm-up (5 minutes):
- Band pull-apart (hamstring, upper back) — light resistance
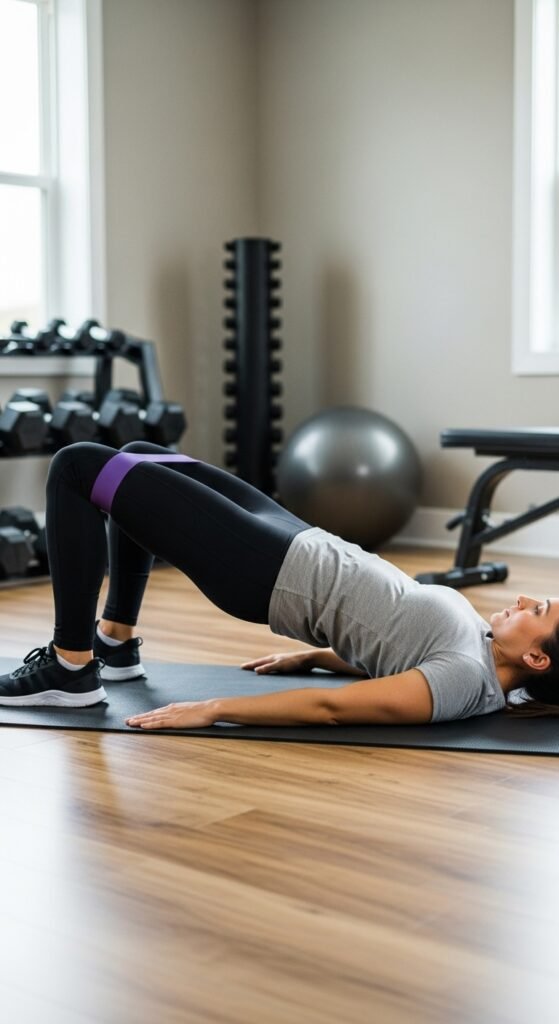
- Glute activation: loop band just above knees, 20 side steps each side
- Shoulder circles with light band — 10 each direction
Workout (20-25 minutes):
(Perform 3 rounds, rest 30-45 secs between exercises)
- Squat to upright row (band under feet, handles in hands) — 12 reps
- Glute bridge with band above knees — 15 reps
- Bent over row (band anchored under feet) — 12 reps
- Lateral band walk (mini-loop) — 20 steps each way
- Standing overhead press (band under feet) — 10–12 reps
- Plank with band row (band anchored, row with one arm) — 10 each side
Cool-down (5 minutes):
- Band hamstring stretch
- Band lat pull down (anchor above, slow controlled)
- Ankle band rotation (loop around foot)
I tweak this when I want a glute-focus day (add hip thrusts, donkey kicks), or a core day (band-resisted Russian twists, wood-chops). The beauty is the same equipment covers many goals.
Product Recommendations – Tried, Tested & Trusted
Here are two band sets I’ve used and recommend. I include honest thoughts both the good and what to check so you can decide if they’re right for you.
1. Fit Simplify Resistance Loop Exercise Bands (Set of 5)
I picked this up when I wanted something ultra portable and budget-friendly.
What I liked:
- A set of five loop bands, each a different resistance level. Amazon+1
- Easy to stash in a drawer, toss in a gym bag.
- Great for glute activation, inner thigh work, mini-band warm-ups.
Things to consider: - Because these are loop bands (short & simple), some full-body anchor-based moves (e.g., standing rows with door anchor) are less optimal.
- If you already have decent strength, you may find the highest resistance isn’t enough.
My verdict: Excellent starter or travel pick. If you’re just getting into band work or want something light to moderate, it does the job beautifully.


2. Bodylastics Stackable Resistance Bands (5-band set, up to approx. 190 lbs tension)
I upgraded to this set once I wanted heavier work and more versatility.
What I liked:
- Stackable bands let you combine resistance; good for serious lower body or full-body moves. Amazon+1
- Handles, carabiners, and quality build make things feel “pro” and safe.
- Because I anchored a band to a door and did a one-leg progression, I really felt the difference compared to lighter sets.
Considerations: - Takes up a bit more space and costs more than basic sets.
- If you’re only doing light band work, the full stack may be overkill.
My verdict: If you’re serious about using bands regularly for full-body strength, this set is worth the investment. It bridges the gap between “band accessory” and “real resistance tool.”


Tips to Get the Most from Your Band Workouts
Here are a few extra strategies I’ve discovered that elevate band training from “okay” to “effective”.
- Anchor height matters: Changing the anchor point (low vs high on the door) changes the muscle emphasis. I like high anchor for lat pulls, low anchor for glutes and hips.
- Mind the form: The resistance will feel lighter at first but increases as you stretch further. Good form counts more than max tension.
- Use slow tempos: Bands = continuous tension, so slow the movement (2 s up, 2-3 s down) to really engage the muscle.
- Warm-up the joints: Because bands give variable tension, your stabilisers and joints need to be ready. I always use a 3-5 min dynamic warm-up.
- Mix it up: Alternate loop, tube, anchored, seated, standing. I found boredom kills consistency more than tired muscles.
- Track progression: Increase resistance (heavier band or stacking), add reps, or shorten rest. I kept a simple log in my phone and saw steady improvement.
- Safety check: Inspect bands each session for wear, especially if using heavy resistance. Avoid anchoring to fragile doors or weak structures.
Sample 4-Week At-Home Resistance Band Plan
Here’s a simple progression plan you can follow. Adjust days as you like (for example, Mon/Thu full-body, Tues/Friday legs).
Week 1 (intro):
- Day 1: Full body (workout as above)
- Day 2: Core + glutes (light bands)
- Day 3: Upper body only (bands for rows, presses, tricep extensions)
- Day 4: Lower body only (squats, lunges, glute bridges)
Week 2 (moderate):
- Increase sets from 3 → 4
- Add one extra exercise per day
- Use slightly heavier band or stack lightly
Week 3 (challenge):
- Day 1: Full body heavy (go near limit of your band set)
- Day 2: Active recovery (mobility, light loop bands)
- Day 3: Lower body heavy
- Day 4: Upper body heavy + core burnout
Week 4 (peak & test):
- Day 1: Full body “benchmark” (track reps, resistance)
- Day 2: Rest or mobility
- Day 3: Mixed (glutes + upper body)
- Day 4: Core, balance, lower body finisher
At the end of Week 4, reflect: Are you stronger? Can you use a heavier resistance? Did you enjoy the workouts enough to continue? I found that this structure built momentum for me — I went from “let’s try bands” to “I actually look forward to my band session”.
Final Thoughts
If you’ve been thinking “I’d like to build strength at home, but I don’t know where to start,” resistance bands offer a realistic, flexible, and effective solution. I’ve used them in small spaces, on travel days, and I still get results. The two sets I recommended — Fit Simplify (great starter) and Bodylastics (great upgrade) — have both served me well.
Remember: Choosing the right equipment matters, but consistency and good execution matter more. Make it easy for yourself: pick a time that works, keep the bands accessible, and start with a routine you can commit to. Then build from there.
And if you purchase one of the sets via Amazon (note: I may earn a small affiliate commission at no extra cost to you), know I recommended it because I genuinely used it and believe it offers value. My hope is that you find your at-home workouts not only more effective, but more enjoyable too.
Happy training!