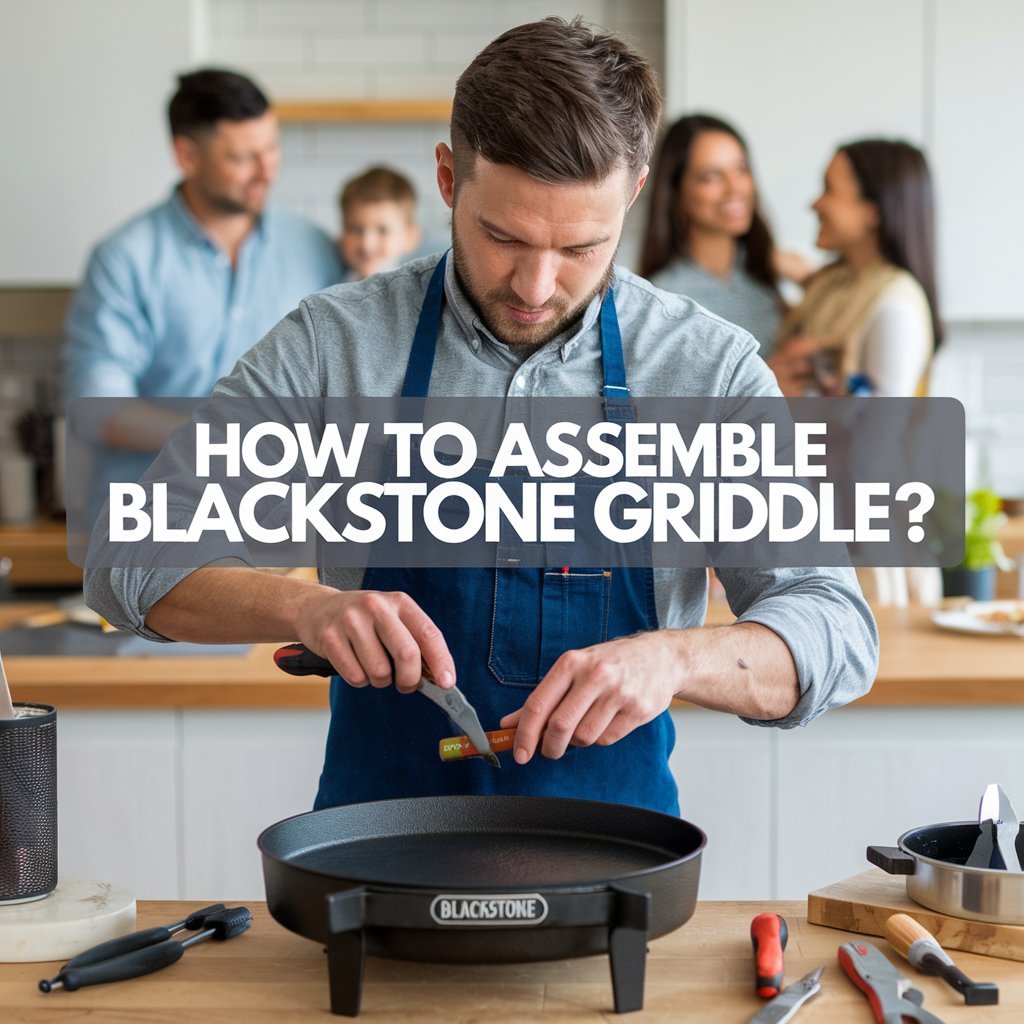
How Do I Assemble My Blackstone Griddle?
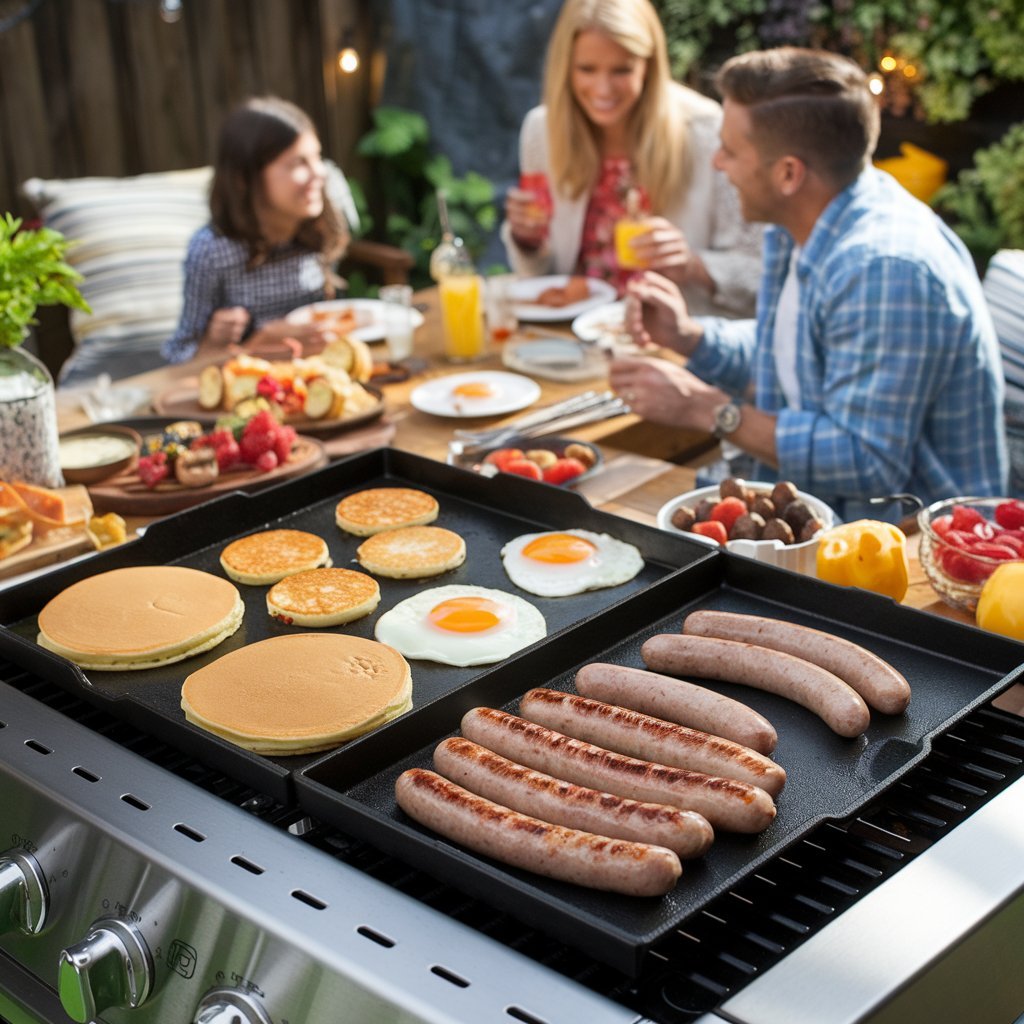
There’s nothing like the sizzle of food on a Blackstone griddle to kick off a weekend barbecue or a cozy family breakfast. But before you can enjoy that delicious griddle magic, you need to put it together. Don’t worry it’s not rocket science. I’ll walk you through everything you need to know about assembling your Blackstone griddle, with tips and tricks to make the process smooth as butter on a hot griddle.
How Long Does It Take to Assemble a Blackstone Griddle?
First things first how long does the whole process take? Well, it depends on the model. Most Blackstone griddle owners report that assembly takes anywhere between 30 minutes to an hour. If you’ve got some experience with DIY projects, it could be even faster.
The time also varies depending on whether you’re tackling a 36-inch Blackstone griddle or the more compact 28-inch model. Larger griddles have more components, like shelves and grease traps, so naturally, they’ll take a bit longer. Just make sure you’ve got a clutter-free space, some patience, and all the tools ready to go.
How to Assemble a Blackstone 36-Inch Griddle
The 36-inch Blackstone griddle is the big daddy of outdoor cooking. It’s spacious, sturdy, and perfect for feeding a crowd. But assembling it? Not too hard if you follow these steps:
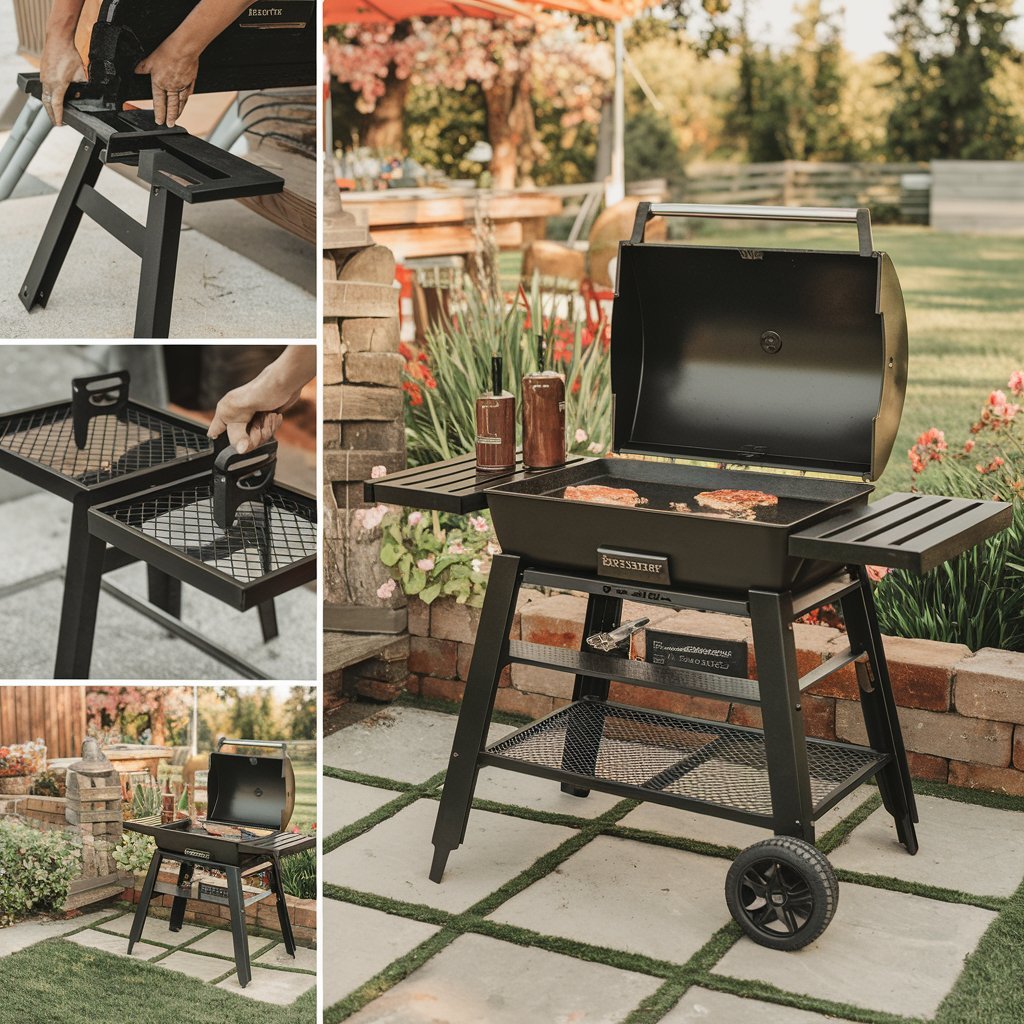
Unpack everything
Lay out all parts, including the adjustable legs, side shelves, and the main griddle top. Check the instruction manual to make sure nothing’s missing.
Assemble the frame
Start by attaching the legs to the base. Use an adjustable wrench or Phillips screwdriver for tightening.
Attach the shelves and grease trap
These go on the sides and back. Make sure they’re secured for stability.
Position the griddle top
This part can be heavy, so get some help if needed. Align it with the frame and secure it in place.
Connect the propane tank
Lastly, hook up the tank to the regulator. Double check for leaks before firing it up.
How to Assemble a Blackstone 28-Inch Griddle
The 28-inch Blackstone griddle is a little easier to handle. Its compact size makes it ideal for smaller patios or tailgating. The steps are similar to the 36-inch model, but there are fewer parts to deal with.
- Begin with the frame: Assemble the base and attach the legs.
- Add the shelves: Even though they’re smaller, they’re just as important for holding tools and plates.
- Secure the griddle surface: Once aligned, tighten the screws and make sure it’s level.
- Connect the propane tank: Safety first! Check all connections before igniting the burners.
Is Assembling a Blackstone Griddle Easy?
Honestly? Yes. The assembly process is designed to be straightforward, even for folks who aren’t super handy. The parts are labeled, the instruction manual is clear, and most of the tools you need like a screwdriver or wrench are common household items.
That said, it helps to have a buddy around, especially when placing the griddle top. Not only does it make the process quicker, but it’s also safer to have an extra set of hands.
What Tools Are Needed to Put a Blackstone Grill Together?
You don’t need a whole toolbox to assemble a Blackstone grill, but a few essentials will make life easier:
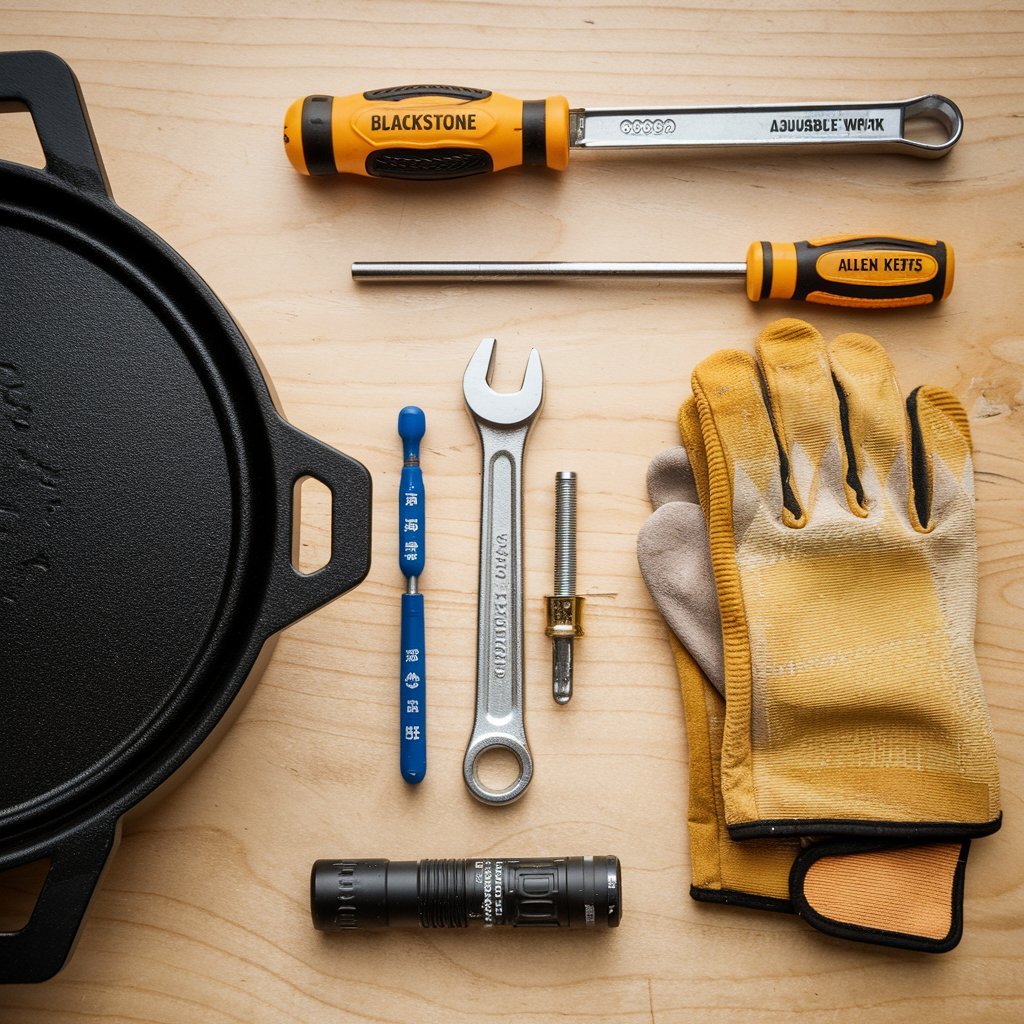
- Screwdriver: Both Phillips and flathead might come in handy.
- Adjustable wrench: Perfect for tightening bolts and propane connections.
- Allen wrench: Some models include screws that need this tool.
- Work gloves: To protect your hands while handling heavy or sharp parts.
- Flashlight: If you’re working in low-light conditions, this can be a lifesaver.
Most of these tools are either included with the grill or already in your home, so there’s no need to run out and buy anything fancy.
Final Tips for a Successful Assembly
Before you dive into cooking, give everything one last check:
- Stability matters: Make sure the frame doesn’t wobble and all screws are tight.
- Grease management: Set up the grease cup properly to avoid messy spills.
- Propane safety: Double-check all connections for leaks using soapy water.
- Test it out: Fire it up and let it heat for a bit before cooking. This will also burn off any residual manufacturing oils.
- Temperature control: Once your griddle is assembled, understanding the ideal cooking temperature is key to success. For a deeper dive into temperature tips and tricks, check out our griddle temperature guide. It’s packed with insights to help you master your Blackstone griddle and get the perfect sear every time.
Conclusion
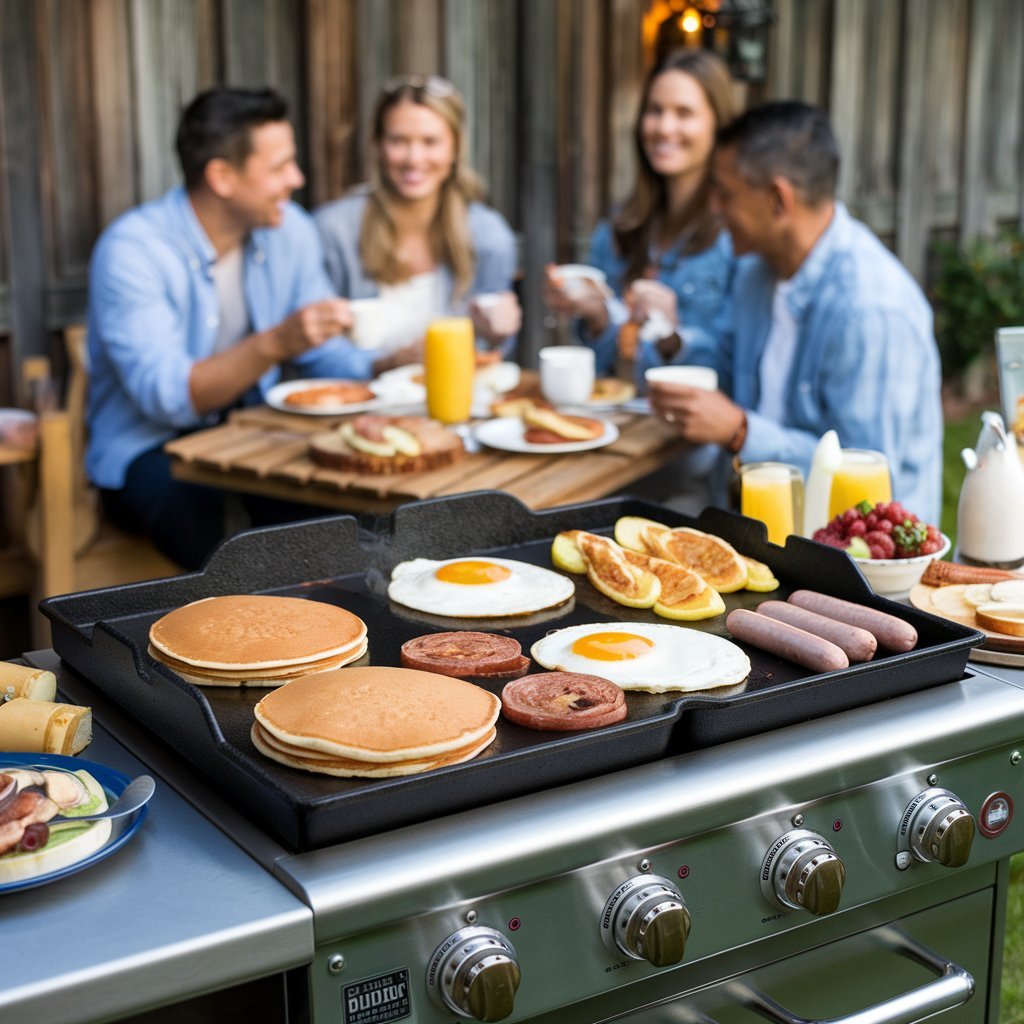
And there you have it! Assembling a Blackstone griddle is a manageable task that sets the stage for endless cooking adventures. Whether you’ve got the spacious 36-inch model or the portable 28-inch version, the process is pretty much the same just follow the steps, take your time, and enjoy the results.
Ready to grill? With your griddle assembled and good to go, the only thing left is to decide what’s hitting the hot surface first. Pancakes? Burgers? Stir fry? The choice is yours

